The 85% Rule: How to Organize Kitchen Cabinets That Actually Stay Neat
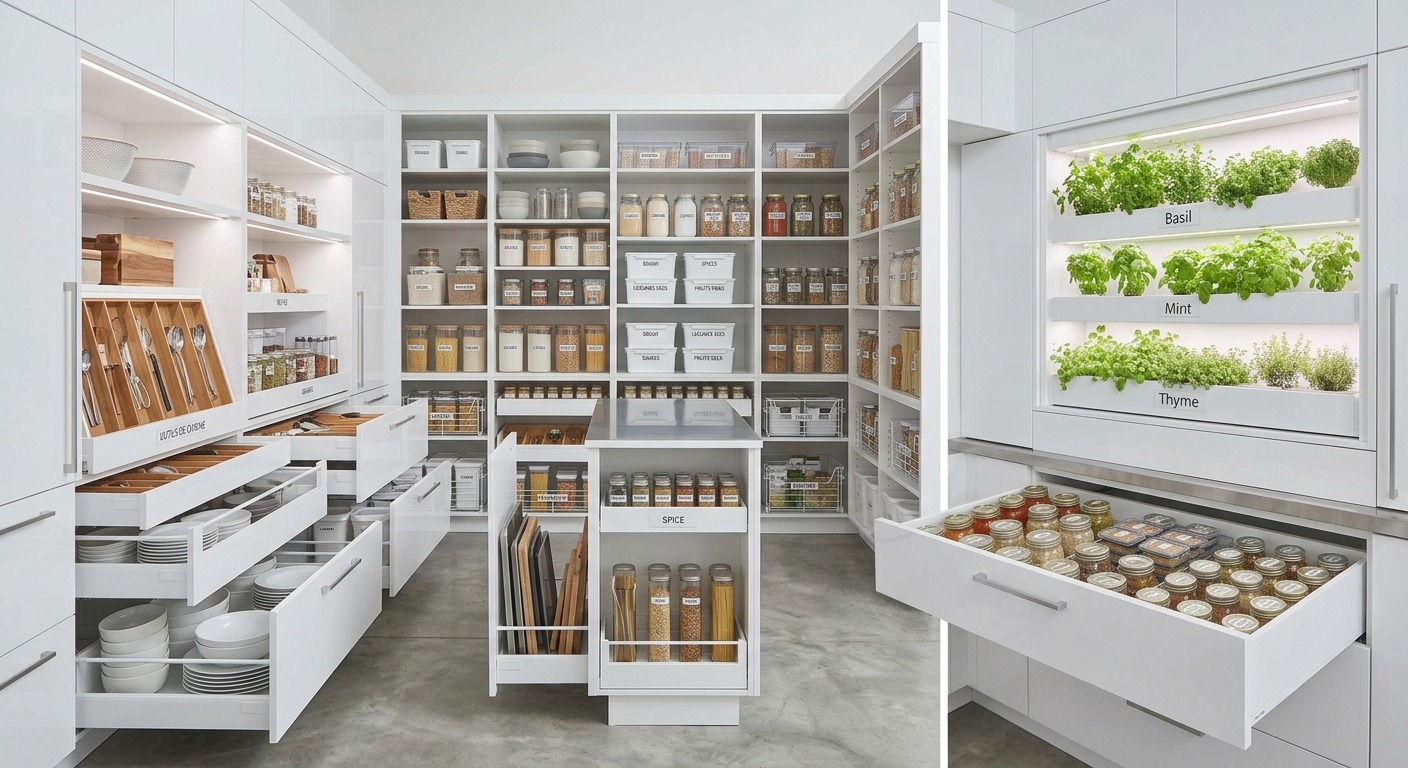
Want Kitchen Cabinets and drawers that actually stay organized? Organize your Kitchen around how you cook instead of grouping items by generic category, double shelf space with risers, give each drawer a clear job, and leave breathing room so shelves never get jammed past 85 percent capacity.
I have pulled apart plenty of kitchens over the years, from my own home to friends’ places and client projects, and the same patterns keep showing up. The kitchens that feel effortless to cook in almost always come down to practical layout choices rather than expensive remodels.
Table of Contents
Why Most Cabinet Organization Fails
Most homeowners Organize Their Kitchen by category. Pots go in one spot, utensils get tossed into whichever drawer is open, and six months later you are digging past three colanders just to find a matching lid.
Instead of asking where an item belongs on paper, ask where you actually use it while cooking. That shift naturally shapes your layout into practical work zones:
- Prep zone for knives , cutting boards , and mixing bowls right where you chop
- Cooking zone for skillets, spatulas, oils, and everyday spices close to the stove
- Cleaning zone for dish soap, towels, and trash bags near the sink and dishwasher
- Storage zone for food containers, foil, and plastic wrap
Put things where your hands reach for them during a real meal, not just where they look neat for a quick photo.
Start With an Audit Before You Buy Anything
Before buying a single tray or bin, empty your cabinets. Skipping this step usually costs you twice, because organizers bought before measuring rarely fit what you actually own and end up in a donation box a year later.
Work through one cabinet at a time instead of pulling out the entire kitchen at once. Empty the box, sort what is inside into keep, donate, or toss, measure the empty interior width, depth, and height, and only then shop for hardware. Almost everyone finds duplicates they forgot existed, like four whisks, extra measuring spoons, or an appliance nobody uses anymore. Letting those go frees up space right away.
Drawers: Where Small Wins Add Up Fast
Drawers fall into chaos faster than almost anything else in the kitchen, which makes them a great place to start because small fixes pay off every single day.
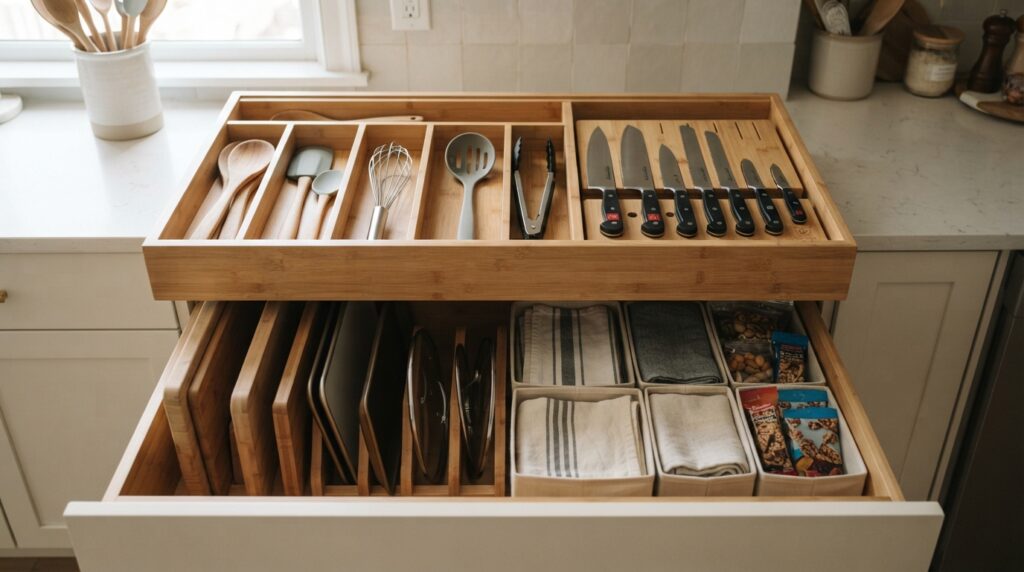
Give Deep Drawers Structure
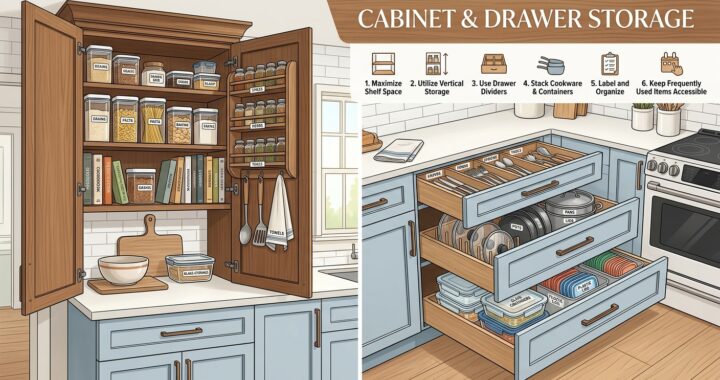
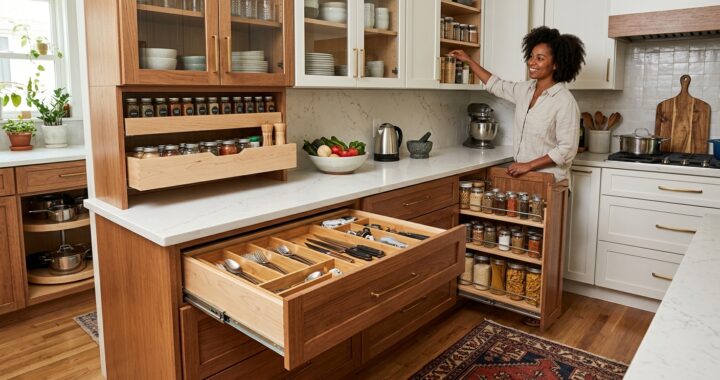
Deep drawers hold a surprising amount, and they swallow just as much out of sight. Tiered dividers help separate utensils and small gadgets ($15 to $40), vertical dividers store baking sheets, cutting boards, and lids upright like files ($10 to $25), and small bins inside the drawer keep snacks, backups, or Kitchen linens contained ($8 to $20).
Give Every Drawer One Clear Job
Keep cooking utensils together in one place, serving pieces in another, and give gadgets a dedicated spot or donate them. Adjustable bamboo dividers usually beat fixed trays because your cooking habits change over time and your layout should be able to adjust with them.
Store Knives Safely and Keep Them Sharp
Tossing sharp knives loosely into a drawer dulls the blades quickly and creates a real hazard when you reach in blindly. An in-drawer knife block or a wall-mounted magnetic strip protects the edges, keeps your fingers safe, and clears counter space at the same time.
Cabinets: Think Vertically
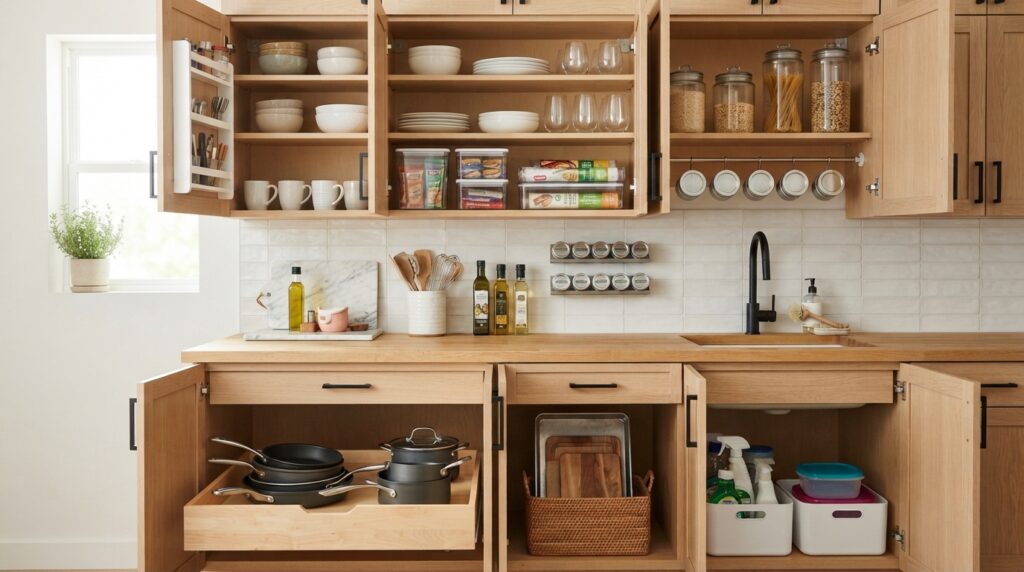
Most cabinets waste far more vertical air than horizontal floor space. A simple shelf riser costing around $20 turns a single shelf into two levels, letting you put mugs on both tiers or stack plates cleanly without leaning towers. For cost versus daily payoff, it is tough to beat.
Slide-out shelves or baskets change how deep lower cabinets work because you pull the tray toward you instead of crouching down and digging into the back. If you rent or want to keep costs low, tension rods and slim rolling carts give you plenty of extra reach without permanent installation.
Corner cabinets eat up space whenever they are ignored. A basic lazy Susan solves most L-shaped corners affordably, while pull-out corner units are worth considering for deep blind corners where heavy pots get trapped. On the inside of cabinet doors, adhesive hooks and slim racks can hold measuring cups, pot lids, cutting boards, or oven mitts, as long as you check door swing clearance first and keep the weight reasonable so hinges do not sag.
End the Container and Lid Avalanche
Almost every kitchen has a plastic container cabinet waiting to spill onto the floor. Start by matching lids to bases and throwing out or recycling any piece with no partner. Nest the bases by size, and stand lids upright inside a slotted rack or divider so you can spot the right size immediately without unstacking a pile.
Decanting dry goods like rice, pasta, oats, and flour into clear stackable canisters also helps. When you can see your actual stock at a glance, you avoid buying duplicate bags and cut down on forgotten food going stale.
Handle the Under-Sink Cabinet With Care
The cabinet beneath the sink deals with plumbing traps, garbage disposals, supply lines, and occasional moisture all at once. U-shaped or stackable bins that wrap around pipes, a wire rack or tension rod hung near the top for spray bottles, a small turntable for cleaners, and waterproof trays under anything that might leak all hold up well. Leave cardboard out of this cabinet completely, because dampness and cardboard are a recipe for soggy collapse.
Make Small Kitchens Work Harder
When square footage is tight, going up matters more than trying to spread out. Use shelf risers inside existing cabinets, mount slim organizers on door backs, attach magnetic strips to the inside of cabinet walls for spice tins, use clear stackable bins, and add tension rods where you need a light extra shelf. In a small kitchen, frequency rules the layout: keep what you touch daily within easy reach, and push everything else higher or deeper.
| Zone or Habit | What Goes There | Practical Setup |
| Cooking zone | Skillets, pots, spatulas, oils, spices | Pull-out shelves, utensil dividers, turntable |
| Prep zone | Knives, cutting boards, mixing bowls | Vertical dividers, knife insert or magnetic strip |
| Cleaning zone | Soaps, dish towels, trash bags, sponges | Waterproof bins, tension rod or lazy Susan |
| Pantry and storage | Dry goods, canned food, containers, wraps | Clear canisters, upright lid slots |
Keep the System Running Without Burnout
A quick five-minute reset at the end of the week puts stray items back where they belong, a fifteen-minute sweep once a month clears out buildup, and a seasonal check once or twice a year lets you pass along gear you no longer use.
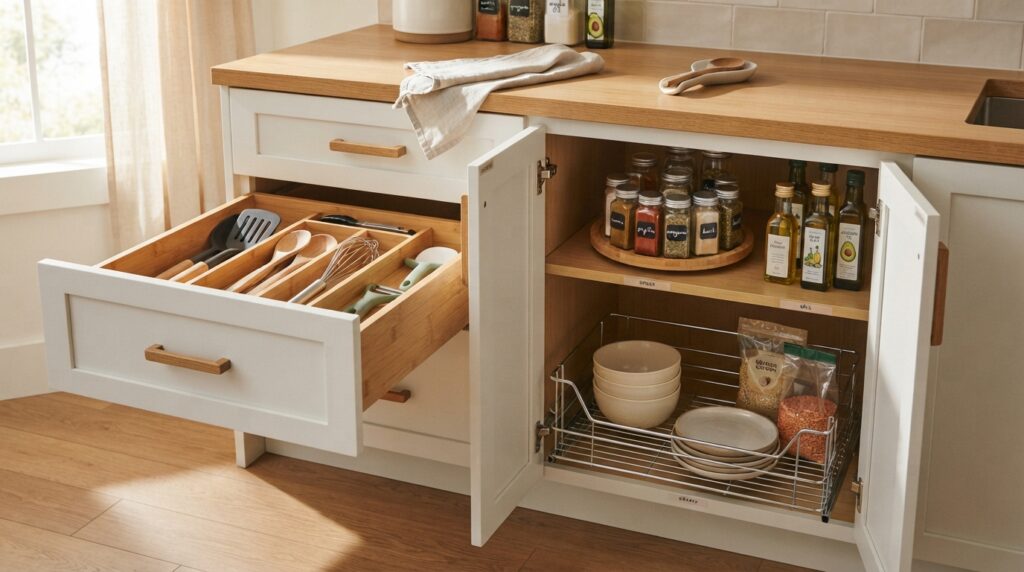
You do not need expensive upgrades for every corner of the kitchen. Adjustable bamboo dividers around $15 often solve the problem on their own, a $30 slide-out basket goes a long way, and a $10 turntable handles spices neatly. Save custom pull-outs or full decanting systems for the spots that genuinely frustrate you week after week.
| Maintenance Rhythm | What to Do | Time Needed |
| Weekly | Return stray utensils and tools to their home | About 5 minutes |
| Monthly | Clear out expired items and clutter buildup | About 15 minutes |
| Seasonal | Review zones and pack up donations | 1 to 2 hours |
Watch out for the common traps that undo good intentions. Buying bins before decluttering just organizes clutter, prioritizing looks over reach creates friction during busy nights, and packing cabinets to 100 percent capacity leaves no room to pull anything out without knocking something over. Leaving roughly 15 percent open breathing room keeps the system workable. Clear labels help too, especially in shared households, because they take out the guesswork.
Think about what happens when a spice shelf or pot cabinet is packed to the brim. You pull out a jar of paprika and two others tip over behind it, or you have to shift a heavy skillet just to slide a baking dish back into place. Leaving that 15 percent buffer gives your hand room to slip in and out without turning a ten-second grab into a mini domino effect.
Do a 30-Day Check-In and Start Small
Every setup drifts a little after the first few weeks. Check back in after a month and notice what keeps migrating out of place. Usually that means the spot is inconvenient for how you actually cook, so move the organizer to fit your habits rather than forcing yourself into a rigid routine.
This matters even more when more than one person cooks in the same kitchen. If a partner or roommate has to wrestle a jammed drawer or squeeze a container into a tight gap after a long shift, things will land wherever it is fastest. Giving each spot a little breathing room makes it easy for everyone in the house to put items back in the right place without thinking twice.
Do not try to overhaul the entire kitchen in one afternoon. Pick one messy drawer tonight, empty it, sort it, divide it, and finish it. Once that one drawer works smoothly, the momentum carries you through the rest of the room