How an Organized Pantry Saves Money and Prevents Food Waste
Table of Contents
A cluttered pantry does more than make dinner prep frustrating, it quietly increases your monthly grocery bill. When cans, grains, and spices are hidden behind stacked boxes, it is easy to buy duplicates of ingredients you already own while forgotten food expires in the back.
Taking a single afternoon to clear out, group, and label your dry goods can immediately cut down on unnecessary grocery trips. Here is how setting up a simple, visible pantry system helps keep your kitchen running smoothly and reduces household food waste.
Why Cluttered Cabinets Lead to Wasted Groceries
Most food waste in the pantry happens simply because items are out of sight. Deep shelves without clear zones hide half-opened bags of pasta, rice, and baking staples, leading you to pick up replacements at the store out of habit.
When I reorganized my own dry goods into clear, front-facing containers last month, I realized I had three opened bags of rice and four jars of the same spice. Grouping similar ingredients together and keeping everyday staples at eye level solves this problem immediately.
Step 1: Empty the Shelves and Sort Everything
Trying to organize a pantry while the shelves are still half-full rarely works. Take every item out onto your kitchen counter first so you can wipe down the shelves and see everything you actually have.
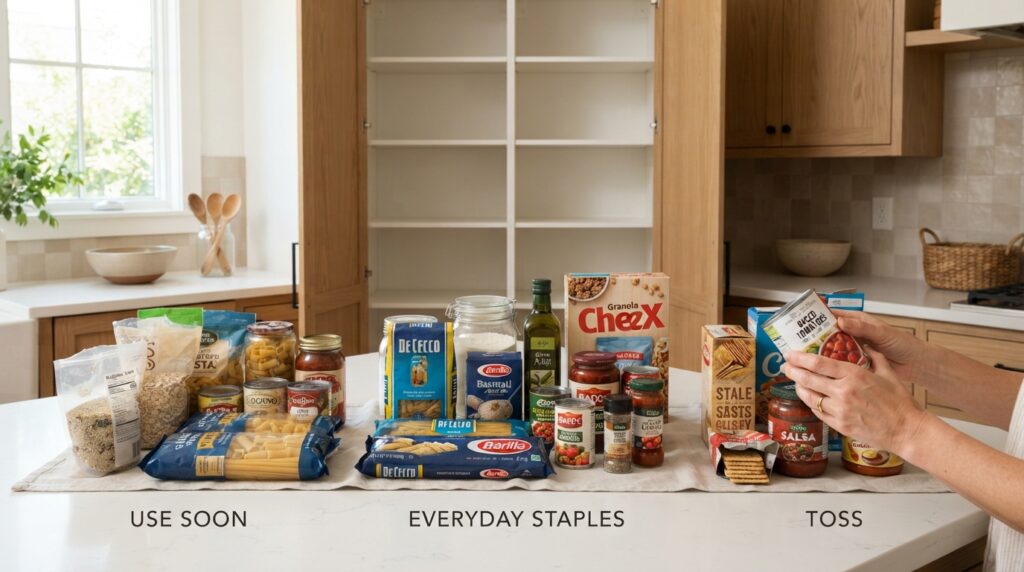
I learned the hard way that sorting item by item on crowded shelves only wastes time. Once everything is on the counter, check the expiration dates and divide your food into three simple piles:
- Use Soon: Opened packages, grains, or canned goods nearing their best-by date that should be cooked this week.
- Everyday Staples: Unopened pasta, rice, flour, oils, and spices in good condition to put back on the shelves.
- Toss: Expired condiments, stale snacks, and damaged packages.
Step 2: Group Items Into Practical Kitchen Zones
Once your shelves are clean, put items back based on how often you reach for them rather than just grouping everything by package size. Keeping similar ingredients together in clear zones makes cooking faster and prevents you from losing track of what you have.
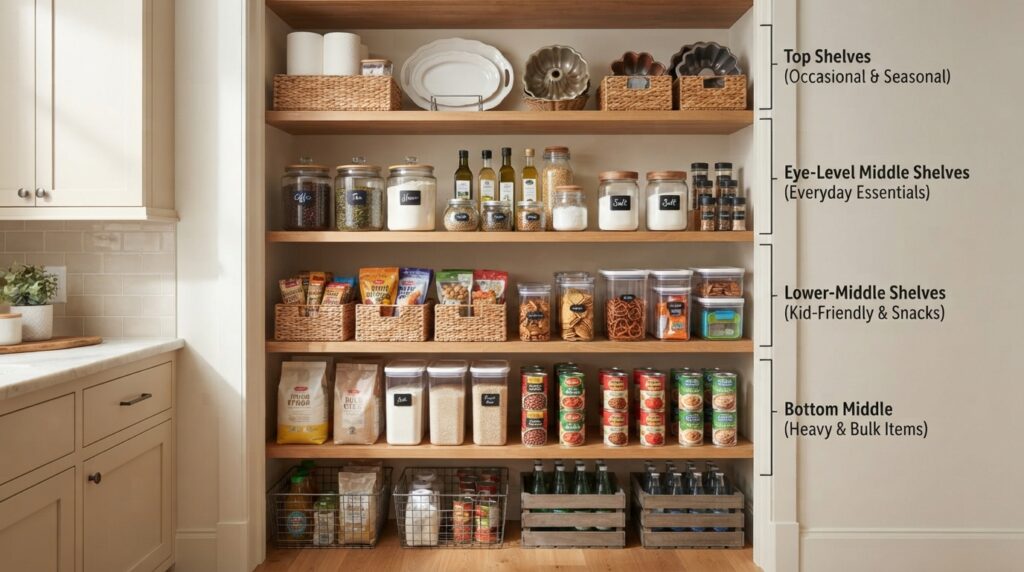
| Pantry Zone | Shelf Location | What Goes Here |
| Everyday Essentials | Eye level (middle shelves) | Cooking oils, everyday spices, coffee, tea, and frequently used grains |
| Heavy & Bulk Items | Bottom shelves or floor | Large bags of flour, bulk rice, canned goods, and bottled beverages |
| Kid-Friendly & Snacks | Lower-middle shelves | Granola bars, dried fruit, nuts, and quick lunchbox snacks |
| Occasional & Seasonal | Top shelves | Extra paper towels, rarely used baking gear, and large serving platters |
Choosing the Right Storage Containers
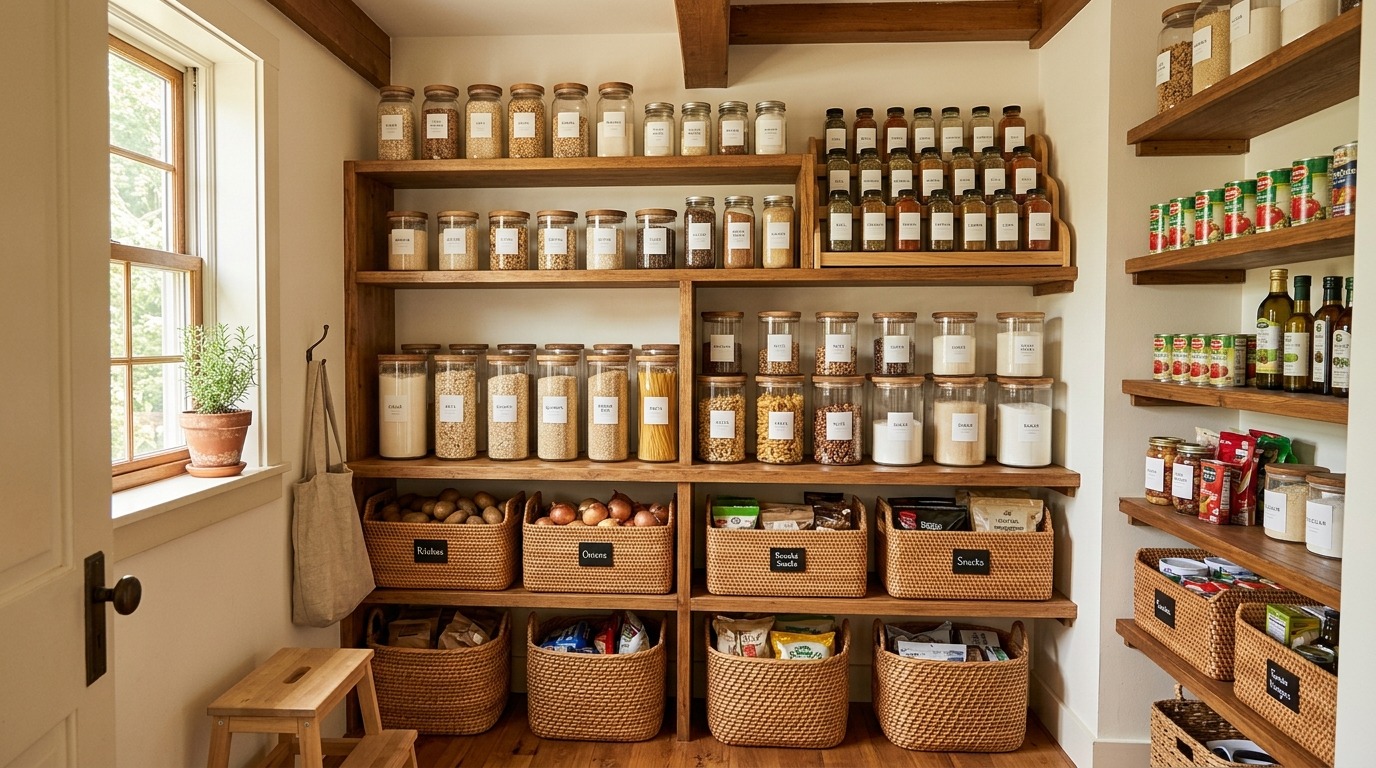
Swapping bulky, half-empty cardboard boxes for clear containers makes it much easier to see what you have left before heading to the store. You do not need to buy an expensive matching set all at once, mixing a few basic materials works great depending on what you are storing:
| Container Material | Best For | Why It Works |
| Glass Jars | Spices, coffee, tea, salts, and baking staples | Does not absorb odors or stains and lasts for years |
| Clear BPA-Free Plastic | Cereal, pasta, flour, and upper shelves | Lightweight, stackable, and will not shatter if dropped |
| Wire or Woven Baskets | Potatoes, onions, garlic, and snack pouches | Lets air circulate around produce and keeps loose items contained |
Step 3: Keep It Tidy With a Quick Weekly Routine
Even the best pantry setup will slowly get messy without a simple habit to maintain it. Spending just five minutes a week checking your shelves keeps ingredients fresh and stops clutter from building back up.
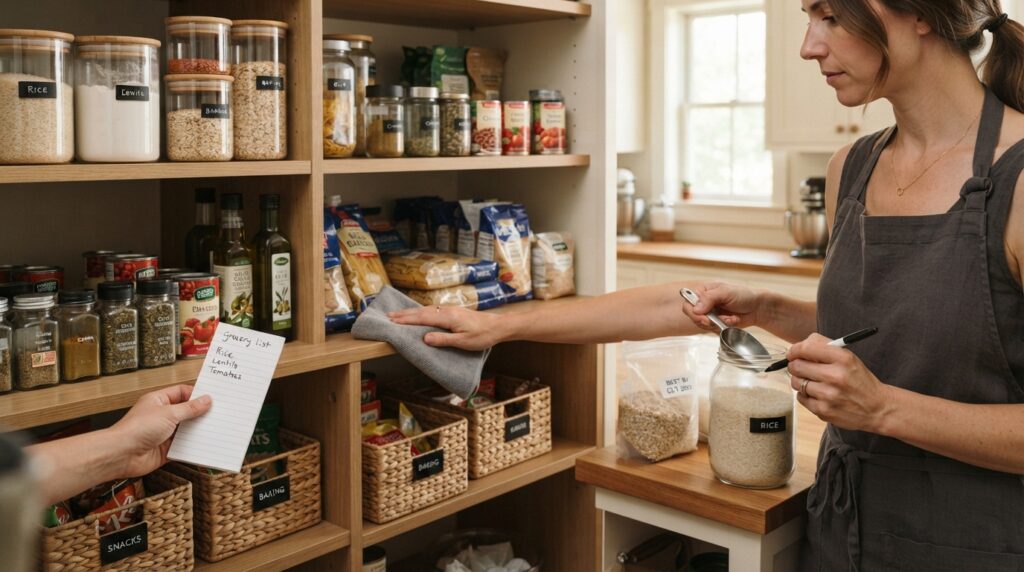
Follow these three easy steps each week:
- Check Before You Shop: Scan your shelves for half-used bags and cans before writing your grocery list so you do not buy duplicates.
- Wipe and Rotate: Move older items to the front (first-in, first-out) and quickly wipe down any crumbs or spills before putting away new groceries.
- Update Expiration Labels: Whenever you refill a jar or container with new bulk staples, update the best-by date on the label right away.
How a Calm, Orderly Kitchen Makes Cooking Easier
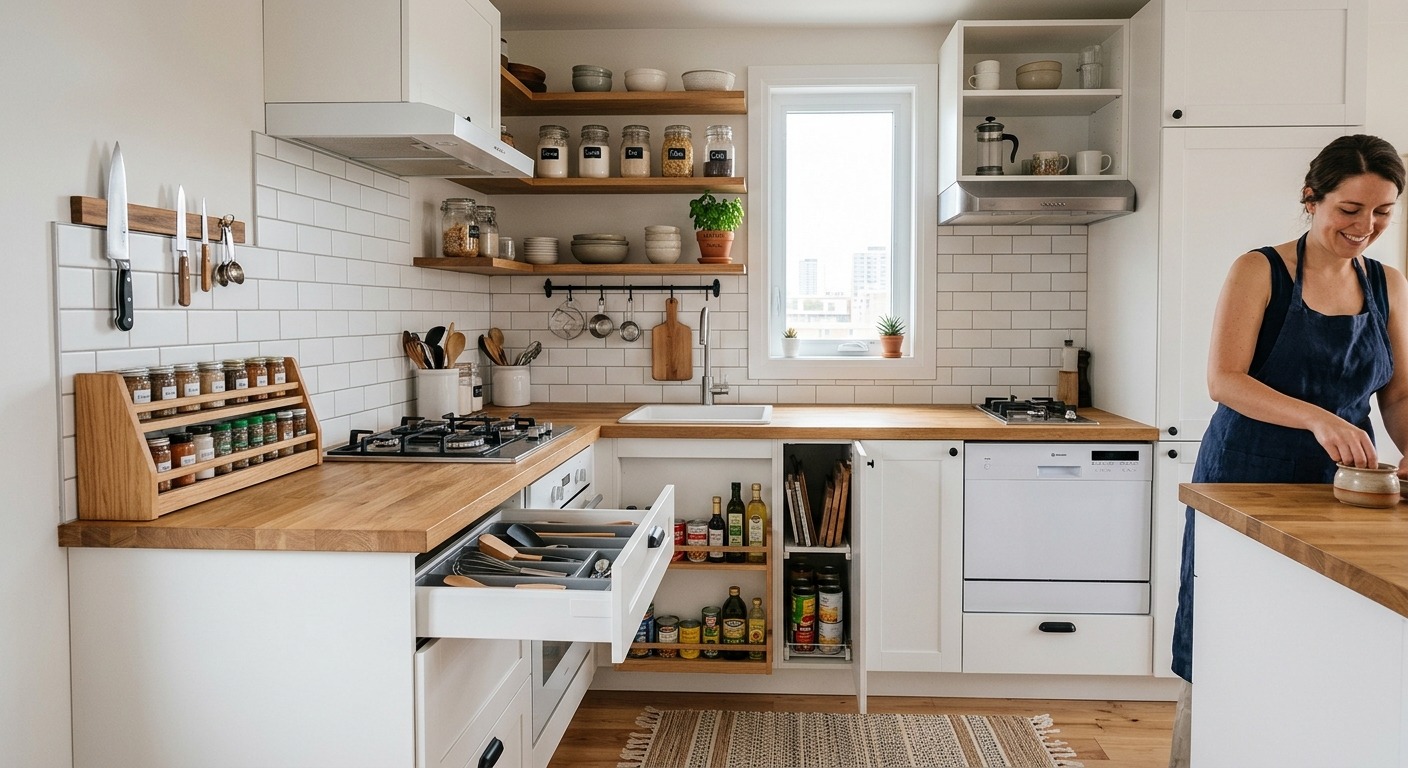
Digging behind half-opened bags and mismatched boxes every time you cook adds unnecessary frustration to busy weeknights. When every ingredient has a clear home, meal prep feels calmer and takes less effort.
Using matching baskets, bins, or closed cabinet organizers also cuts down on visual clutter, making even a small kitchen feel calmer and easier to work in every day.
Making the Most of Vertical Shelf Space
Most standard pantry shelves leave several inches of wasted vertical space near the top while squeezing taller containers below. Adjusting your shelf heights to match the actual size of your jars, cereal boxes, and bottles immediately creates extra room without adding a single square foot.
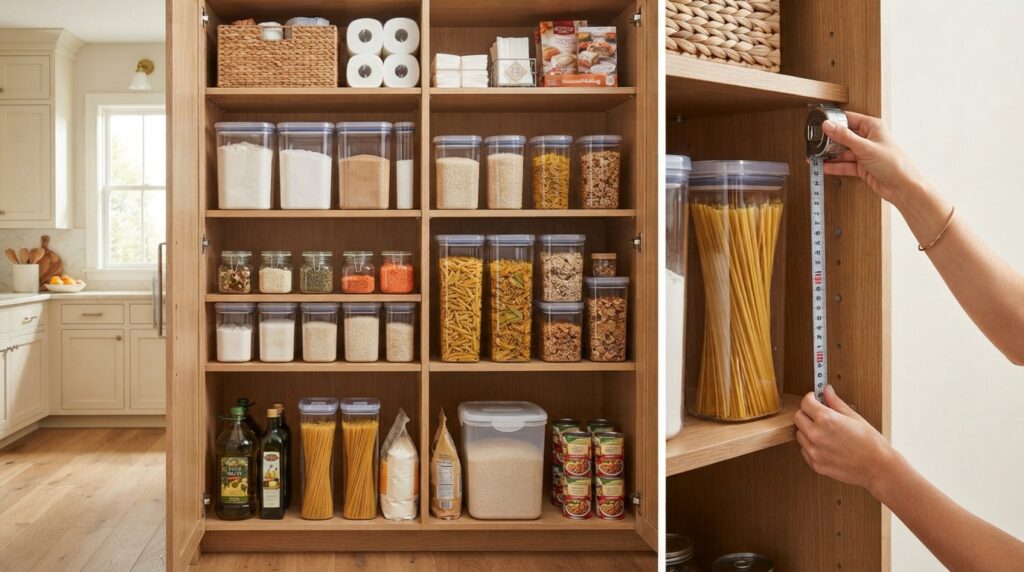
The first time I adjusted my own shelves, I forgot to measure my tallest pasta canisters and had to move the brackets twice, so always measure your largest containers before setting the final height.
| Shelf Height | Best Spacing Rule | What Fits Best |
| Top Shelves | Leave extra clearance for lightweight bins | Paper towels, extra napkins, and seasonal baking supplies |
| Middle Shelves (Eye Level) | Adjust tightly to standard jar and box heights | Everyday spices, oils, grains, and breakfast staples |
| Bottom Shelves | Leave tall vertical clearance | Heavy bulk bags, large cooking oil jugs, and canned goodsWhy Decanting Dry Goods Into Clear Containers Works Mismatched cardboard boxes and half-rolled plastic bags make shelves look cluttered and hide how much food you actually have left. Transferring staples like flour, sugar, pasta, and cereal into uniform, clear containers immediately cleans up the visual clutter and lets you see when you are running low at a glance. Airtight containers with silicone or rubber seals also keep humidity out, helping crackers, grains, and baking ingredients stay fresh much longer than they would in opened store packaging. |
Label Every Container Clearly
Unlabeled white powders like baking soda, baking powder, cornstarch, and powdered sugar look identical once removed from their original boxes, which can easily ruin a recipe in the middle of cooking. Adding a clean, readable label to the front of every jar or bin takes just a few minutes and saves constant guesswork.
Clear labels also make it easy for everyone in the household to find what they need and put groceries back in the right spot after shopping.
Choosing one consistent label style across all your jars keeps the shelves looking neat and makes ingredients easy to read from a distance.
- Keep Placement Consistent: Stick every label at the same height on the front center of each container so your eye scans across the shelf effortlessly.
- Include the Expiration Date: Write the best-by date on a small piece of masking tape or erasable label on the bottom or back of the jar whenever you refill it.
Use Tiered Risers so Canned Goods Stay Visible
Tin cans and small spice jars easily disappear into the back of deep shelves, where they get forgotten until long past their expiration date. Placing an inexpensive three-tier step organizer on your canned-goods shelf elevates the back rows so you can read every label at a glance.
Being able to see your entire canned food supply in seconds keeps you from accidentally buying extra cans of tomatoes or beans you already have at home.
Add Pull-Out Bins or Sliding Trays to Deep Lower Shelves
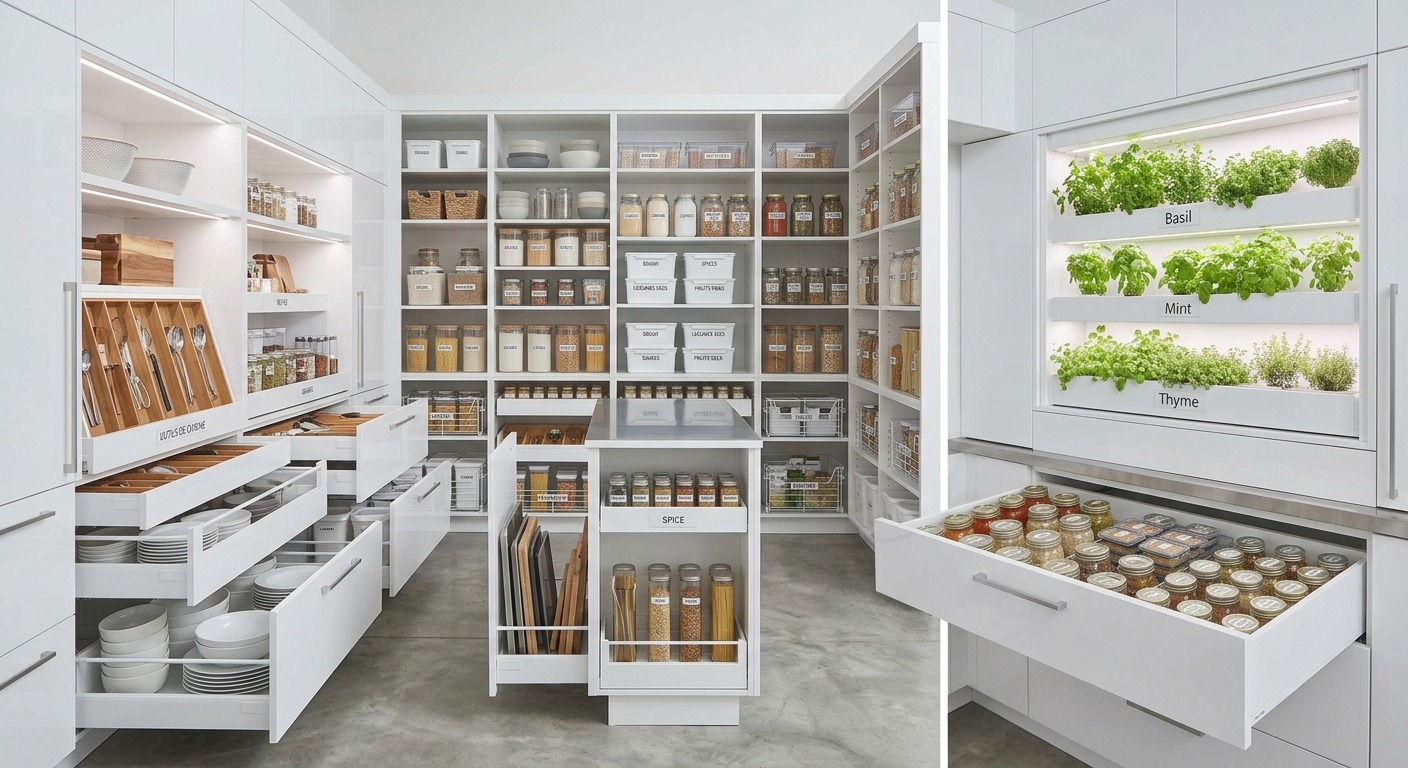
Fixed bottom shelves force you to kneel down and reach into dark corners just to find a jar of sauce or a bag of lentils. Installing pull-out wire baskets, or simply using clear slide-out plastic bins, brings everything straight into the light with one easy pull.
Being able to slide out an entire bin lets you check what you have in seconds and makes deep lower cabinets far easier to use every day.
Start With One Shelf Today
Clearing clutter from your pantry takes away one of the biggest daily frustrations in the kitchen while saving you time and money on groceries every week. You do not need to overhaul every cabinet at once, just clearing off one shelf, grouping similar ingredients together, and labeling a few everyday jars is enough to make cooking feel noticeably easier tonight.