Where a Better Kitchen Renovation Really Begins: Planning Smarter Cabinets First
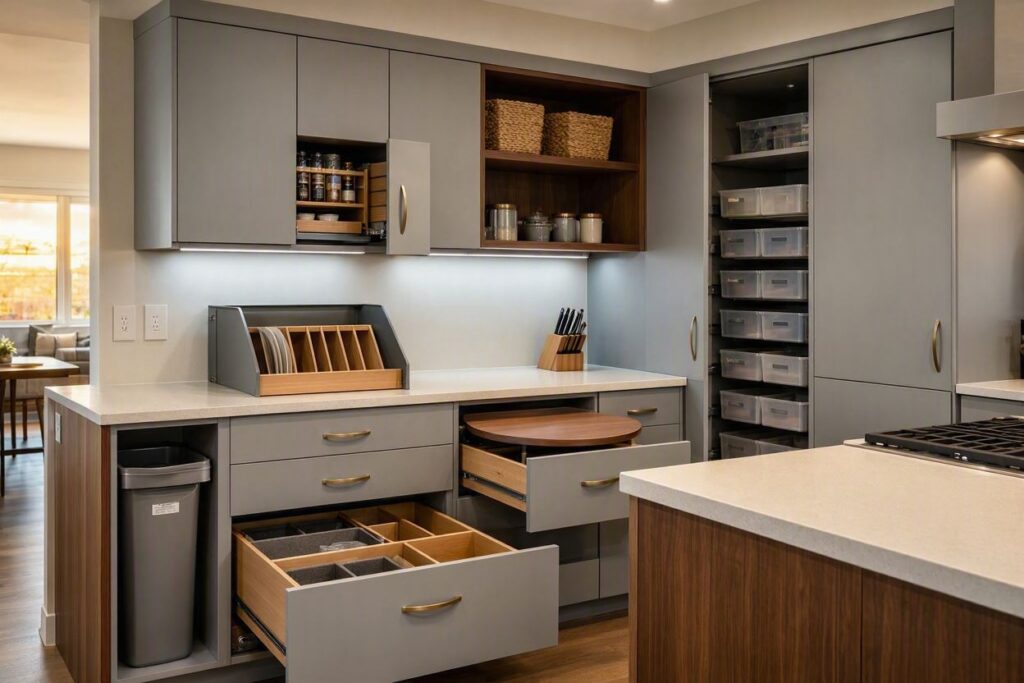
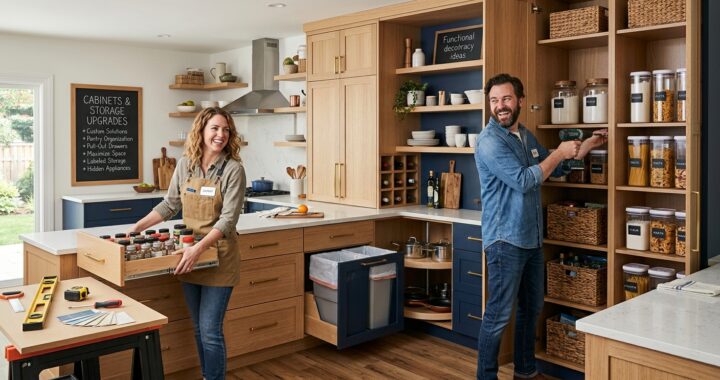
If your Kitchen Renovation feels stuck between “looks better” and “works better,” start with the cabinets. Cabinets determine how much storage you have, how easily you can reach everyday cookware, and whether your countertops stay clear or constantly cluttered. A new countertop can refresh the look of a room overnight, but a smarter cabinet layout improves how the kitchen functions every single day.
Making storage your first priority, before falling in love with door styles, paint colors, or showroom trends, helps you spend your renovation budget where it makes the biggest daily difference.
Table of Contents
Start With Existing Storage Problems, Not a Cabinet Catalog
Before browsing door profiles or hardware finishes, inspect the cabinets already in your Kitchen. Measure the boxes, take a few reference photos, and list what genuinely slows you down during meal prep. Shelves may be too deep, drawers too shallow for utensils and pots, or a large corner cabinet may hide half of its interior out of reach.
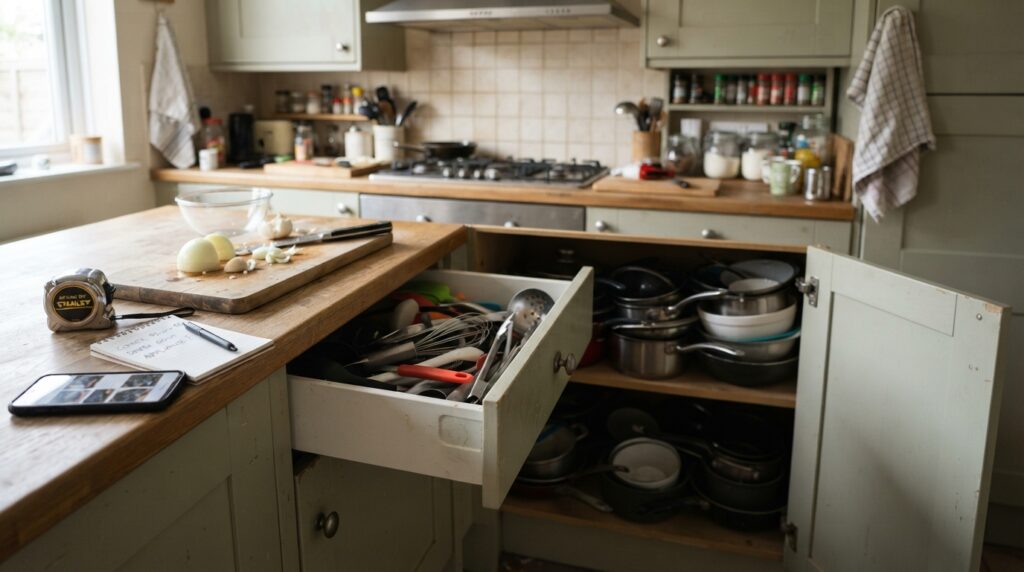
Treating your existing kitchen like a quick site inspection gives you hard measurements rather than guesswork:
| Cabinet Component | What to Inspect | Why It Matters |
| Cabinet Boxes | Interior width, height, depth, and structural condition | Determines whether boxes can be refaced/retrofitted or need full replacement |
| Shelves | Spacing, depth, and shelf-pin adjustability | Reveals wasted vertical height or items buried out of reach |
| Drawers | Depth, glide smoothness, and extension length | Shows whether heavy pots or utensils need deeper, full-extension drawers |
| Doors | Swing direction and clearance near appliances or islands | Prevents doors from colliding with dishwashers, fridges, or walkways |
| Corners | Blind spots and opening width | Identifies awkward corners that need rotating or pull-out hardware |
Once you know which measurements and clearances are causing daily frustration, choosing the right cabinet upgrades becomes straightforward.
Turn Deep and Awkward Cabinets Into Easy-Access Storage
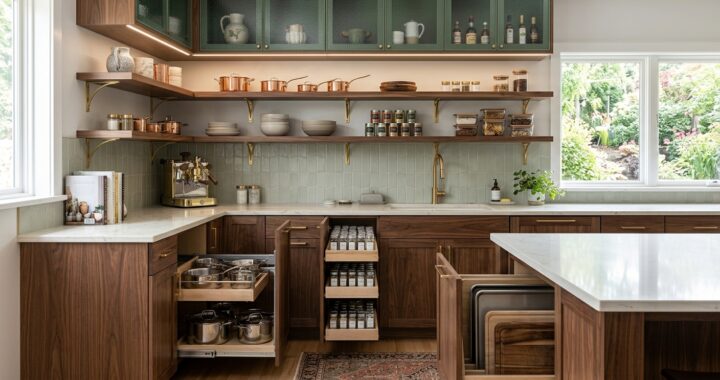
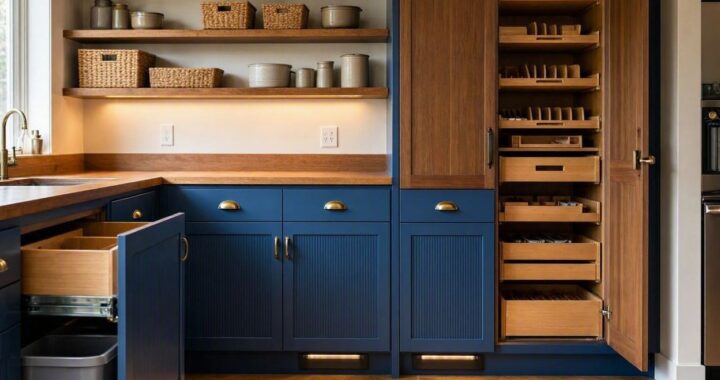
Deep base cabinets and high upper shelves can hold plenty of gear, yet items pushed to the back quickly disappear. Upgrading interior hardware solves access issues without requiring a larger kitchen footprint.
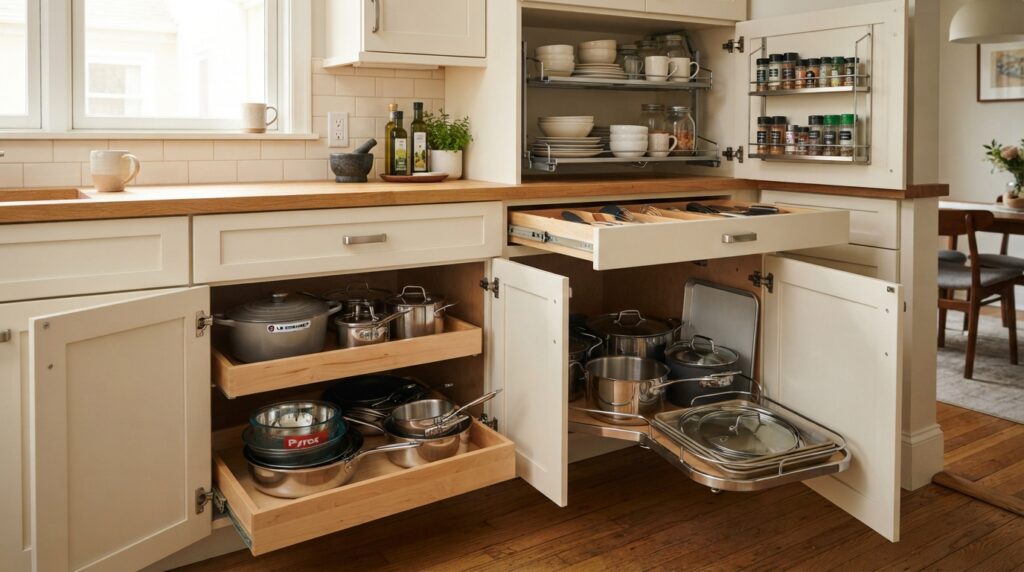
Residential remodeling guidance from the U.S. Department of Housing and Urban Development (HUD) highlights full-extension drawers, pull-out shelves, pull-down upper racks, and revolving corner inserts as practical ways to improve reach and everyday usability. Matching the hardware to the specific cabinet problem keeps costs under control:
| Cabinet Problem | Practical Hardware Solution | What to Verify Before Buying |
| Deep Base Cabinet | Sliding pull-out shelves | Exact interior box depth and door-hinge clearance |
| High Upper Cabinet | Pull-down shelf mechanism | Interior height and weight capacity |
| Blind Corner Cabinet | Revolving lazy Susan or swing-out corner tray | Cabinet corner angle and door opening width |
| Limited Drawer Reach | Full-extension soft-close drawer slides | Drawer box length and side clearance |
Sometimes the simplest fix is still the best one: moving adjustable shelves a few inches or adding drawer dividers can solve a storage bottleneck without custom hardware. Even when adding organizers, such as door-mounted spice racks or vertical tray dividers, measure carefully first so every door closes cleanly and the interior stays easy to navigate rather than overstuffed.
Pay Attention to Cabinet Materials and Emissions Standards
Cabinet box construction deserves just as much scrutiny as the visible door finish. In the United States, composite wood products used in cabinetry, specifically hardwood plywood, medium-density fiberboard (MDF), and particleboard, are regulated under TSCA Title VI by the U.S. Environmental Protection Agency (EPA) to limit formaldehyde emissions.
Rather than relying on vague marketing labels like “green,” “natural,” or “eco-friendly,” ask your supplier or cabinetmaker for verifiable product documentation before ordering:
- Confirm Exact Box and Door Materials: Ask whether cabinet boxes are built from furniture-grade plywood, MDF, or particleboard, and specify the thickness of the panels and backings.
- Verify TSCA Title VI Compliance: For U.S. renovations, ask for documentation confirming that regulated composite wood components meet federal emission standards and carry recognized third-party certification.
- Keep Air-Quality Claims Grounded: Verifying certified low-emission materials gives you factual documentation for your project without relying on exaggerated health claims.
Get Detailed Specifications Before Comparing Cabinet Quotes
A vague cabinet estimate, such as “custom cabinetry with storage accessories”, often leads to surprise charges once manufacturing begins. Two proposals with similar bottom-line prices can cover completely different scopes: one may include soft-close hardware, pull-out trays, and installation, while another bills those items separately.
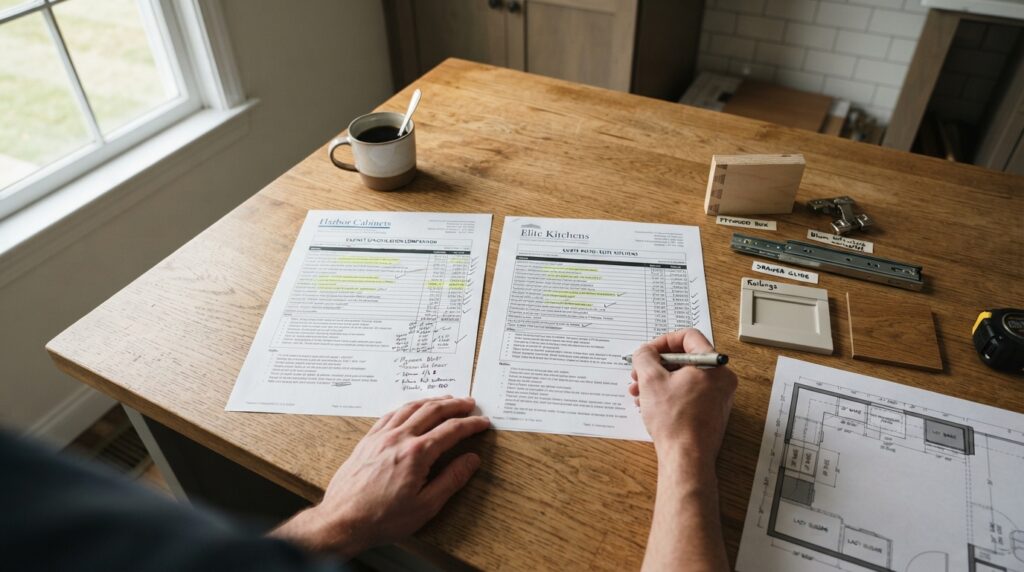
Review every quote side by side across five core categories before signing off:
| Quote Category | What to Specify and Compare |
| Box & Door Construction | Core wood material, panel thickness, joinery method, and certified compliance |
| Interior Storage | Number of adjustable shelves, pull-out trays, corner inserts, and drawer dividers included |
| Hardware | Hinge and drawer-slide brand, weight rating, full-extension capability, and soft-close features |
| Finish | Paint or stain type, interior box finish, and protective topcoat |
| Installation Scope | Delivery, leveling, trim/crown molding installation, and haul-away of old cabinets |
Spending an afternoon clarifying specifications prevents costly mid-project changes once custom boxes are built around exact room dimensions.
Be Selective With Specialty Storage Accessories
Pull-out spice racks, appliance garages, and intricate corner mechanisms look impressive in showroom displays, but specialty hardware adds up quickly. Before approving any add-on accessory, run it through four practical checks:
- Does it solve a real storage bottleneck identified in your kitchen audit?
- Does it make everyday tools faster to reach and put away?
- Does it fit your exact measured cabinet clearances without blocking adjacent doors?
- Are its load rating and manufacturer specifications clearly documented?
If an accessory fails any of those checks, put that budget toward stronger cabinet boxes, thicker shelves, or full-extension drawer glides instead.
Choose Deep Base Drawers Over Standard Lower Doors
One of the highest-impact upgrades in any cabinet renovation is replacing traditional lower cabinets, which have a single fixed half-shelf and force you to kneel and reach into dark corners, with banks of deep, full-extension drawers:
- Better Visibility and Ergonomics: Pulling out a 30- or 36-inch wide drawer lets you see every pot, Dutch oven, mixing bowl, or stack of dinner plates from above without unstacking heavy items.
- Heavy-Duty Weight Capacity: Look for undermount, soft-close drawer slides rated for at least 75 to 100 pounds so wide drawers loaded with cast-iron skillets or stoneware dishes glide smoothly without sagging over time.
- Smart Three-Tier Drawer Stacks: A standard 34.5-inch base cabinet height works particularly well with a shallow top drawer for cooking utensils and foil, paired with two deep lower drawers for pots, pans, and small appliances.
Compare Framed vs Frameless Cabinet Construction
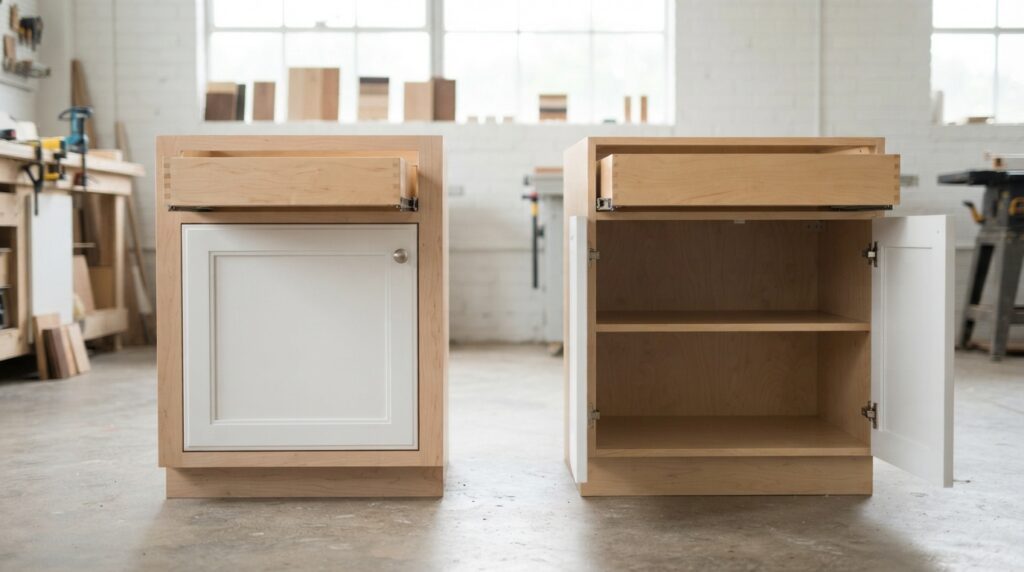
When reviewing cabinet quotes, you will usually encounter two construction styles that directly affect how much usable interior space you get from the exact same kitchen footprint:
| Construction Feature | Framed Cabinets (Face-Frame) | Frameless Cabinets (European Style) |
| Front Structure | Includes a 1.5- to 2-inch solid wood frame attached to the front of the cabinet box | Eliminates the front face frame; doors attach directly to thicker side panels |
| Usable Interior Space | Slightly narrower drawer boxes and shelf openings due to the front frame lip | Maximizes interior drawer width and shelf accessibility, often gaining 10% to 15% more usable room |
| Hinge & Door Alignment | Forgiving during installation; hinges can be exposed or concealed | Clean, modern look with full-overlay doors; requires precise leveling during installation |
| Best Kitchen Fit | Traditional or transitional kitchens where classic trim and rigidity are priorities | Small to medium kitchens where every inch of interior storage capacity counts |
Extend Upper Cabinets to the Ceiling
Leaving an empty 12- to 18-inch gap above upper cabinets creates a hard-to-clean dust trap and wastes valuable vertical storage. Whenever ceiling height allows, especially in kitchens with 8- or 9-foot ceilings, extending upper cabinets all the way to the ceiling (either with taller 36- to 42-inch boxes or a second row of stacked upper cabinets finished with crown molding) keeps rarely used holiday platters, roasting pans, and bulk paper goods neatly tucked behind closed doors while making the walls look taller.
Follow a Clear Five-Step Cabinet Planning Sequence
Keeping cabinet decisions in the right order prevents expensive rework and ensures every organizer actually fits:
- Measure the Space: Record wall lengths, ceiling height, window and door trims, appliance footprints, and plumbing or electrical locations.
- Audit Current Pain Points: Identify which cabinets are too deep, too high, or poorly zoned for your daily routine.
- Finalize the Functional Layout: Place drawers, deep pot storage, trash pull-outs, and pantry cabinets around your prep, cooking, and cleanup zones before locking in aesthetics.
- Specify Materials and Hardware: Confirm box construction, verified material certifications, drawer glides, and only the interior organizers that fit your measurements.
- Verify Quotes and Drawings Before Ordering: Cross-check final elevation drawings and itemized quotes so nothing is left out of production.
Making storage the foundation of your kitchen renovation produces far more than a fresh look, it creates a layout where cookware, pantry staples, and everyday tools sit right where you need them for years after the dust settles.