Smart Kitchen Remodeling Tips That Save Thousands

The fastest way to renovate a Kitchen on a Budget is to keep your existing layout, refinish instead of replace, and spend only on the three things people actually notice every day: cabinets, counters, and lighting. Follow that approach, and a full refresh can land between $5,000 and $15,000 instead of the $27,000+ national average for a midrange remodel.
Table of Contents
Where to Save, Where to Splurge, and How to Avoid the Biggest Remodeling Traps
Having managed kitchen projects for small business owners and rental property clients for years, I see the same pattern every time: budgets don’t die on materials, they die on layout changes. Below is the exact step-by-step playbook I use to keep costs predictable without cutting corners on durability.
Why Most Kitchen Budgets Explode (And How Yours Won’t)
According to Remodeling Magazine’s 2024 Cost vs. Value Report, a minor kitchen remodel averages around $27,492, while a major upscale remodel blows past $158,000. Yet the minor remodel recoups roughly 96% of its cost at resale, one of the highest returns in home improvement. That gap tells you everything: money doesn’t buy better outcomes; planning does.
On one of my earliest budget renovations for a client, I spent two hours and $400 ordering tile before realizing the layout change she wanted would require moving plumbing lines. We scrapped the layout shift, kept the sink where it was, and finished comfortably under budget.
Here is the core rule I give every client before drawing a single line: Every inch you move plumbing or gas lines adds $1,000 to $3,000 to the project. Design around what already exists first.
Step 1: Set a Realistic Budget Before Browsing Inspiration Photos
Pick your total spending cap before you open Pinterest or save inspiration photos. Otherwise, the photos set your budget, not you.
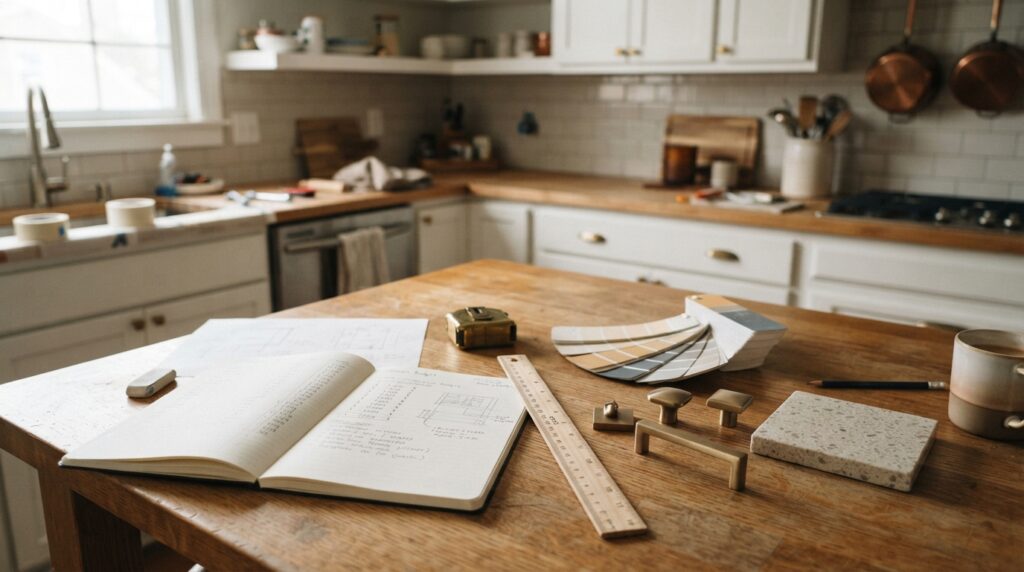
A straightforward allocation framework that works reliably across mid-size budget remodels:
| Category | % of Budget | Example ($12,000 Budget) |
| Cabinets & hardware | 30% | $3,600 |
| Appliances | 20% | $2,400 |
| Countertops | 15% | $1,800 |
| Flooring & paint | 15% | $1,800 |
| Lighting & fixtures | 10% | $1,200 |
| Contingency fund | 10% | $1,200 |
That last line matters most. Industry guidance from the National Kitchen & Bath Association consistently recommends holding back 10% to 20% for surprises. Older kitchens regularly hide slow plumbing leaks, outdated wiring, and uneven subfloors. The first time I skipped that buffer, a hidden drain leak turned a $9,000 job into an $11,500 one.
Step 2: Refinish Instead of Replace, The Biggest Savings Lever
Full cabinet replacement eats renovation budgets alive. Refacing or repainting structurally sound cabinet boxes costs a fraction of new cabinetry while delivering most of the visual transformation.
| Approach | Typical Cost Range | Visual Impact |
| Full cabinet replacement | $8,000 – $20,000+ | Maximum |
| Cabinet refacing (new doors + veneer) | $4,000 – $10,000 | High |
| Painting + new hardware (DIY) | $200 – $1,000 | High (when prepped properly) |
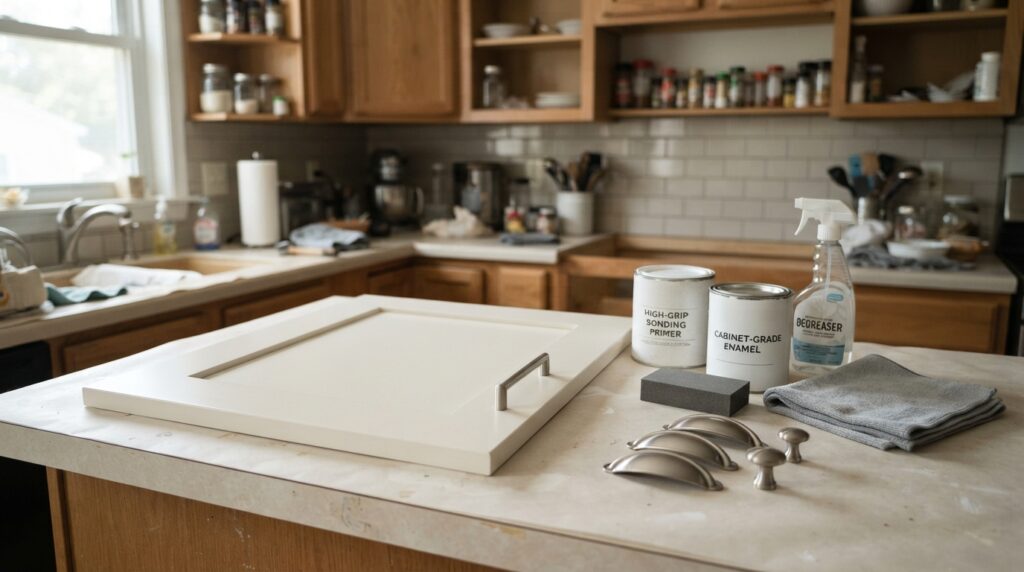
Painting cabinets yourself is the single highest-return weekend project in kitchen remodeling. When I tested this on a rental unit, thorough degreasing was the difference between a factory-smooth finish that held up and one that peeled within months. Skip the degreaser step and you will be repainting within a year.
What actually works for painted cabinets:
- Degrease thoroughly: Clean every door and face frame with a TSP substitute, then scuff-sand lightly with 150- to 220-grit sandpaper.
- Prime for adhesion: Apply a high-grip bonding primer formulated for glossy surfaces.
- Use cabinet-grade enamel: Brush or spray two thin coats of waterborne alkyd or cabinet-grade urethane enamel, never standard latex wall paint.
- Respect cure times: Let each coat dry and cure properly before rehanging doors; patience beats speed here.
Step 3: Countertops, Where Smart Sourcing Looks High-End
You do not need natural marble. In fact, marble is a high-maintenance choice for busy kitchens because acidic foods etch it and oils stain it easily.
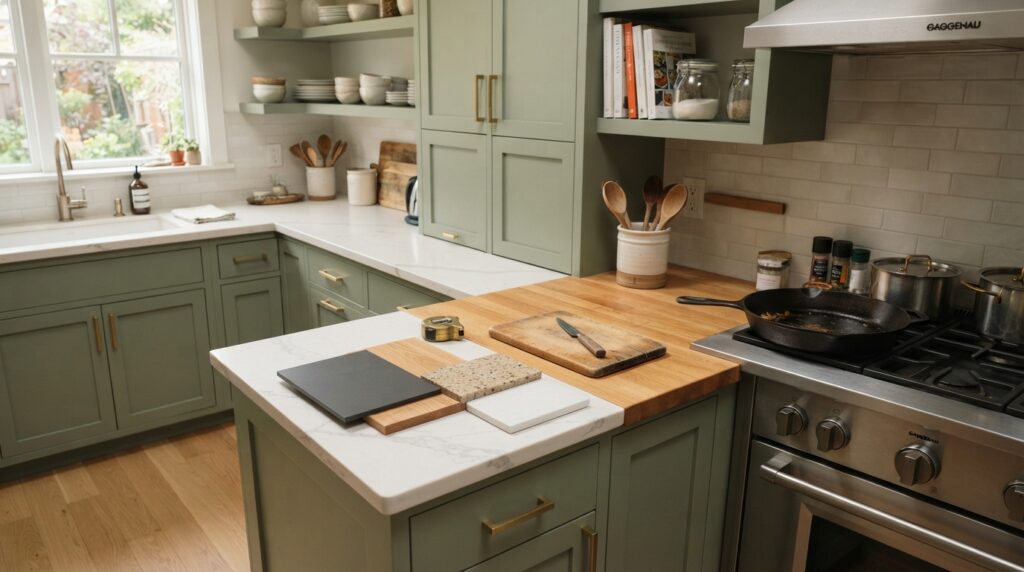
Butcher block, quartz remnants, and modern high-pressure laminates deliver clean, durable work surfaces at reasonable prices. Stone fabricators regularly sell quartz remnants, leftover slabs from larger custom jobs, at steep discounts. I have sourced full countertop runs for client kitchens this way at roughly half retail price.
| Material | Cost per Sq. Ft. (Installed) | Durability Notes |
| Laminate | $10 – $30 | Budget-friendly, wide range of patterns, not heat-proof |
| Butcher block | $40 – $80 | Warm look, easy to sand out scratches, needs periodic oiling |
| Granite | $50 – $100 | Very durable, heat-resistant, needs periodic sealing |
| Quartz | $60 – $120 | Non-porous, low maintenance, stain-resistant |
One honest caveat: modern laminate looks dramatically better than older versions, but it still will not survive a hot cast-iron pan set directly on top. If you cook with heavy skillets daily, stretch for stone or install a butcher-block section near the range.
Step 4: Appliances, Buy Smart, Not New-to-Market
Appliances are where marketing budgets meet your wallet. Custom panel-ready fronts and Wi-Fi touchscreens inflate prices without improving how food cooks.
According to ENERGY STAR data, certified modern appliances significantly reduce electricity and water consumption over their lifespan, refrigerators in particular use far less energy than models built 15 to 20 years ago. Buying an efficient scratch-and-dent unit or last year’s floor model often beats paying full retail for flashy new releases.
Where to save vs. where to splurge:
- Save: Dishwashers (mid-range models clean just as well as luxury tiers) and refrigerator finishes (standard stainless steel costs far less than panel-ready built-ins).
- Splurge: The range or cooktop if you cook daily, plus proper ventilation, putting an underpowered, noisy hood over a high-BTU stove is a regret I see regularly.
Floor models, scratch-and-dent outlets, and major holiday sales routinely knock 20% to 40% off retail. Never pay full sticker price on a kitchen appliance.
Step 5: Lighting, The Cheapest Transformation in the Room
If you change only one thing in a dated kitchen, upgrade the lighting. It delivers the highest visual return per dollar of any update.
Replace a single harsh overhead dome fixture with three simple layers: under-cabinet LED strips for counter task lighting, pendants over an island or peninsula, and warm-white (2700K–3000K) dimmable ceiling lights. Plug-in or hardwired under-cabinet LED strips cost $30 to $100 and instantly make countertops look cleaner and brighter.
Here is how a weekend lighting overhaul breaks down in practice:
- Saturday morning: Remove the dated flush-mount ceiling fixture and install slim LED recessed retrofit cans (no attic access required).
- Saturday afternoon: Mount diffused under-cabinet LED light bars or strips tucked behind the cabinet lip.
- Sunday: Hang a new pendant over the island or sink and add dimmer switches to each circuit.
Total cost: roughly $650. The result changes the mood of the entire room immediately.
Step 6: Floors and Paint, Fast Wins, Low Risk
Luxury vinyl plank (LVP) has become a staple for budget kitchen renovations. It is waterproof, clicks together over existing subfloors, and hides minor floor imperfections far better than rigid porcelain tile.
Paint remains the most affordable square-foot upgrade available. Light, warm neutrals make compact kitchens feel more open, and painting walls and trim in complementary tones creates a cohesive look.
| Job | DIY Cost | Pro Cost | Difficulty |
| Paint walls & trim | $100 – $200 | $400 – $800 | Easy |
| LVP flooring (150 sq. ft.) | $900 – $1,500 | $2,000 – $3,500 | Moderate |
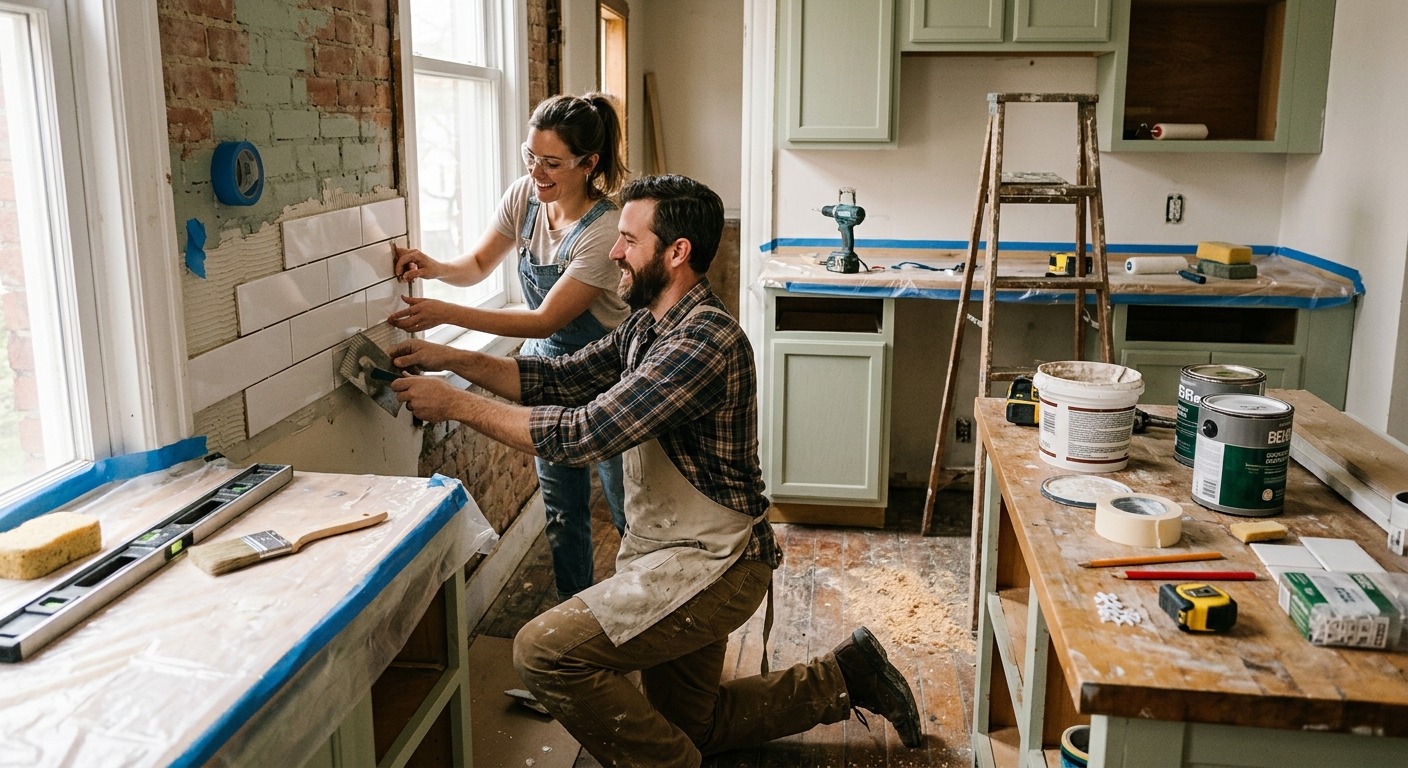
| Backsplash (subway tile) | $300 – $500 | $800 – $1,500 | Moderate |
Peel-and-stick backsplash tiles are tempting for renters, but they frequently loosen near stove heat and sink moisture over time. Real ceramic subway tile set with premixed adhesive isn’t much harder to install and lasts for decades.
Step 7: Open Shelving and Small Details That Punch Above Their Price
Removing one or two upper cabinet runs, especially flanking a window or sink, and installing sturdy open shelves costs $100 to $300 for brackets and finished hardwood boards, while immediately opening up tight sightlines.
Small finishing details add up quickly:
- Hardware swaps: Replacing dated handles with clean pulls and knobs at $3 to $8 each modernizes cabinet doors in an afternoon.
- Faucet upgrade: A reliable pull-down kitchen faucet runs $150 to $300 and improves a fixture you touch dozens of times a day.
- Fresh caulk and trim: Crisp, mold-resistant silicone caulk lines along the backsplash and sink edge make older surfaces look freshly installed.
What Not to Spend On
After watching dozens of budgets get derailed, these are the four expenses I consistently steer clients away from:
- Moving plumbing or gas lines: The #1 budget killer on any kitchen project.
- Trendy cabinet colors: Bold, highly specific colors date quickly; keep large fixed surfaces neutral and bring personality in with paint, stools, or lighting.
- Smart appliances: App connectivity rarely adds real daily convenience compared to better burners or quieter motors.
- Custom cabinet inserts: Modular drawer dividers and pull-out organizers from hardware stores handle 90% of the job for a fraction of custom millwork pricing.
How to Order Your Remodel (So You Don’t Ruin Finished Work)
Even a well-budgeted renovation loses money when tasks happen out of sequence, like installing new LVP planks before painting cabinet boxes or setting countertops before checking cabinet level. Follow this exact order to avoid redoing work:
- Demolition & Repairs First: Remove old backsplash tile, dated light fixtures, and worn caulk, and fix any slow sink leaks or loose electrical outlets while walls are open.
- Ceiling & Wall Painting: Paint ceilings and walls before installing new flooring or hanging new pendants so drips are easy to wipe up.
- Cabinet Prep & Painting: Degrease, prime, and paint cabinet boxes and doors while old countertops are still in place acting as a drop cloth.
- Countertops, Sink & Faucet: Have new stone or butcher-block slabs templated and installed once cabinets are level, then drop in the sink and pull-down faucet.
- Backsplash & Lighting: Tile the backsplash directly above the new countertop edge (eliminating messy gaps), then mount under-cabinet LEDs and ceiling fixtures.
- Flooring & Hardware Last: Click LVP flooring into place, install baseboards or quarter-round trim, and screw on your new cabinet pulls and knobs.
Common Questions About Budget Kitchen Remodels
How long does a $5,000–$15,000 kitchen refresh take?
If you keep the existing plumbing and electrical footprint, most cosmetic kitchen refreshes take 2 to 4 weeks from start to finish. Painting cabinets typically takes one full weekend plus cure time, countertop fabrication adds 7 to 10 days after templating, and flooring, lighting, and backsplash work fit cleanly into another weekend or two.
Is it worth hiring a contractor for a budget remodel?
For a cosmetic refresh without structural or plumbing changes, acting as your own general contractor saves 20% to 30% in management markups. Handle painting, hardware swaps, and simple lighting updates yourself, and hire licensed pros strictly for countertop fabrication, major electrical runs, or complex tile cuts.
Budget Renovation Priority Matrix
Not sure what order to tackle your remodel in? Work down this list from highest impact per dollar to lowest:
| Project | Cost | Visual Impact | Daily Use Impact | Priority |
| Paint cabinets + hardware | Low | High | Medium | 1 |
| Layered lighting | Low | High | High | 2 |
| Countertop update | Medium | High | High | 3 |
| LVP flooring | Medium | Medium | High | 4 |
| Appliance upgrades | High | Medium | High | 5 |
| Layout changes | Very High | High | Variable | Last resort |
Work from top to bottom and stop when the kitchen functions well and feels finished, not when your bank account hits zero.
Budget renovation isn’t about buying cheap materials; it is about refusing to spend money on changes that don’t improve how your kitchen looks or works. Keep the existing footprint, refinish the big surfaces, invest thoughtfully in lighting and everyday touchpoints, and hold back a contingency buffer for surprises. Follow that order, and you can build a kitchen that looks and works like a $30,000 remodel for a fraction of the cost.