How to Build a System That Survives Real Life
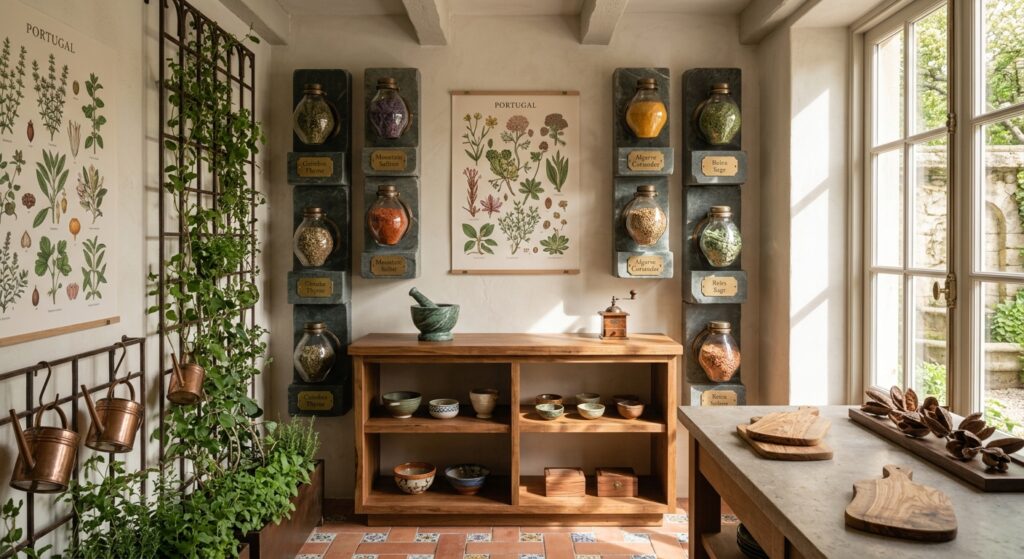
Want a pantry that stays organized? Empty everything first, group food into categories, give each shelf one job, store daily items at eye level in clear containers, label every zone, and add risers and turntables to double your space. Most pantries can be sorted in a weekend for under $100 — and they stay tidy if you build the upkeep into grocery day.
I’ve organized enough pantries over the years to know the pattern well. The ones that stay tidy aren’t the prettiest ones. They’re the ones designed around how people actually grab food.
Here’s the approach that works.
Why Pantries Fall Apart (and Stay That Way)
Pantry chaos isn’t usually a discipline problem. It’s a visibility problem.
Food gets shoved wherever it fits. Old cans hide behind new ones. You can’t see what you own, so you buy duplicates, forget what’s expiring, and quietly throw money away.
Household food waste is genuinely expensive. Research from WRAP in the UK has repeatedly linked it to poor planning and poor visibility of what we already have.
Which means fixing visibility fixes most of the problem.
Start With a Full Empty-Out
Before buying a single bin, take everything out of the pantry.
Not shelf by shelf. Everything. A partial reorganization just moves clutter around while you keep “rediscovering” forgotten items mid-process — and decisions pile up until you quit.
Work like this:
- Pull every item onto the counter or table.
- Check dates honestly. Toss what’s expired.
- Sort survivors into groups: baking, canned goods, snacks, grains, breakfast, drinks.
- Pile duplicates together so you can see exactly what you own.
- Bag up unopened extras for donation before those dates pass too.
One tip: do this in one focused block, five separate sessions. Marathon shelf-by-shelf efforts tend to die halfway through a week of half-emptied shelves.
Zone Your Shelves Like a Pro
Zones are what keep a pantry alive after month two. Without them, even beautiful bins collapse back into chaos.
Give each shelf or section a single job:
| Zone | What Lives There | Best Position |
|---|---|---|
| Breakfast | Cereal, oats, spreads | Eye level |
| Cooking staples | Oils, sauces, spices | Eye level near the door |
| Snacks | Grab-and-go items | Kid height or front row |
| Baking | Flour, sugar, mixes | Upper shelves |
| Bulk / backup | Extra stock, overflow | Highest or lowest shelves |
The rule underneath all of this: frequency decides placement. Daily items get prime real estate. The rarely-touched stuff earns the top shelf.
It sounds obvious written down. In practice, most pantries are arranged by whatever fit where, which is exactly why nothing gets found.
Contain Everything — But Spend Carefully
You don’t need matching designer canisters. You need to see your food and stack it cleanly.
Clear containers win
Opaque storage recreates the original problem inside prettier boxes. Clear, airtight containers show quantities instantly, which makes sharper shopping lists and kills duplicate-buying.
Decant staples only
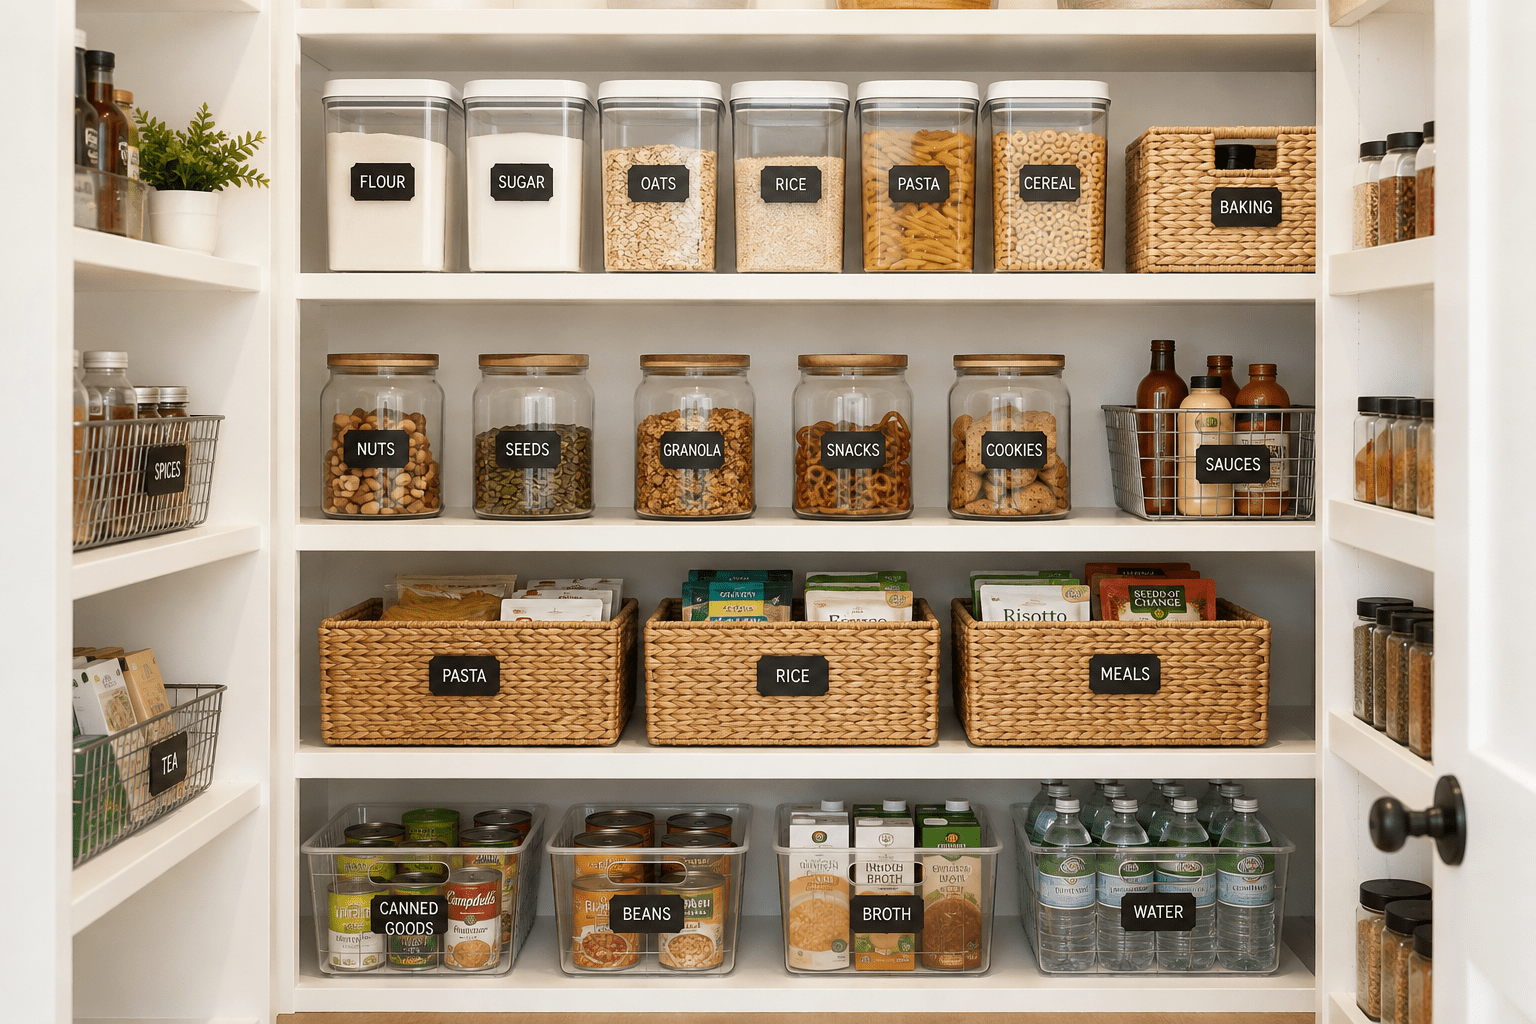
Pour flour, rice, pasta, oats, and cereal into square containers — square shapes sit flush together and waste far less shelf space than round ones.
Full pantry decanting looks fantastic in photos, but it adds refilling chores most households abandon within a season. Decanting just your top five staples gets you nearly all the benefit with a fraction of upkeep.
Skip decanting for oily, messy, or rarely used items entirely.
Bins beat perfection
Matching isn’t required. Labeled open bins grouped by category create instant order — and you can lift out an entire category as one unit while cooking.
Multiply Your Space for Under $100
Even a cramped pantry holds roughly double with a few cheap additions:
| Space Problem | Fix It With | Rough Cost |
|---|---|---|
| Wasted gap above cans | Shelf risers | 10–10–10–30 per shelf |
| Deep shelves hiding items | Turntables | 8–8–8–20 each |
| Bags avalanching forward | Labeled bin groups | 15–15–15–40 total |
| Dead door space | Over-door racks | 15–15–15–35 |
Risers are my favorite upgrade in any budget build — they stack cans on two levels using vertical air you were already paying for. Turntables rescue deep corners; a quick spin beats digging every time.
Start with risers, two turntables, and labels. Expand from there only if something still frustrates you.
Labels Do the Enforcing For You
Labels feel optional right up until someone puts oatmeal where the pasta lives.
They work because they remove guesswork. When every bin announces its own rule, the whole household maintains the system without thinking about it.
A few rules from experience:
- Label categories, not individual items
- Keep text big enough to read from arm’s length
- Add a visible “use first” spot for anything nearing expiry
- Choose removable or erasable tags so the system can flex later
And skip the fancy chalkboard tags if your kitchen runs humid — simple printed or clip labels survive far better and cost less.
Rotate Stock: FIFO in Plain English
First In, First Out sounds like corporate jargon. It just means new groceries go behind old stock, so the oldest items sit at the front where they actually get used.
Pair rotation with a quick expiry triage:
| Item State | Action |
|---|---|
| Expired | Toss during restock |
| Expires this week | Move to the “use first” basket |
| Unopened surplus | Donate before dates pass |
| Opened, going stale | Seal airtight |
That single “use first” basket turns quiet expiration into visible homework — and visibly shrinking homework, once the habit sticks.
Maintenance Belongs on Grocery Day
A perfect pantry dies without upkeep. So don’t rely on willpower — attach the upkeep to a routine you already have.
Ten minutes on grocery day:
- Scan for expired items while unloading bags
- Rotate new stock behind old
- Rehome strays back to their zones
- Note gaps straight onto the list before you forget them
Then book a deeper thirty-minute audit each quarter, donation run included. Attaching habits to existing routines beats discipline alone — always has.
Mistakes Worth Skipping
These show up in almost every struggling pantry:
- Organizing by container size instead of food category — pretty, but useless
- Hiding everything in opaque bins, which recreates the invisibility problem
- Storing heavy bulk stock up high (physics wins eventually)
- Skipping labels, which leaves the system running on memory
- Buying organizers before measuring a single shelf
The biggest one, though: chasing the Instagram look instead of function. Rainbow-arranged shelves photograph beautifully yet often fight real cooking workflows. Sorted clear containers look great anyway — so go function first.
Quick Answers to Common Headaches
Small pantry, big family? Go vertical hard: risers everywhere, an over-door rack, backup stock stored somewhere else entirely. Daily items get the only prime space.
Deep shelves nobody can reach? Turntables upfront, low rolling bins behind them. Pull, don’t dig.
Shared household with mixed habits? Labels and zones do the so nobody has to nag. Make the right choice the lazy choice.
Bulk shopper? Split working stock from overflow. Working shelves hold opened, reachable items; the overflow shelf feeds them FIFO-style.
Start With One Shelf Tonight
Don’t plan the whole transformation tonight. Set a sixty-minute timer and clear exactly one shelf — completely.
Sort it, zone it, contain whatever belongs there. Nothing goes back without a deliberate home.
Momentum handles the rest. And beyond tidiness, there’s a quieter payoff: you’ll cook faster, shop sharper, and throw away far less.
That’s not organization for show. That’s organization paying rent every single week.